Skip to content
Get 10% off by mentioning and sharing us with your friends on Instagram, Facebook or Bluesky
Home
Shop By Product
Shop by Design A-L
Shop by Design M-Z
SGD
USD
EUR
CAD
GBP
AUD
NZD
SEK
NOK
DKK
PLN
INR
JPY
MYR
SGD
MXN
BRL
CHF
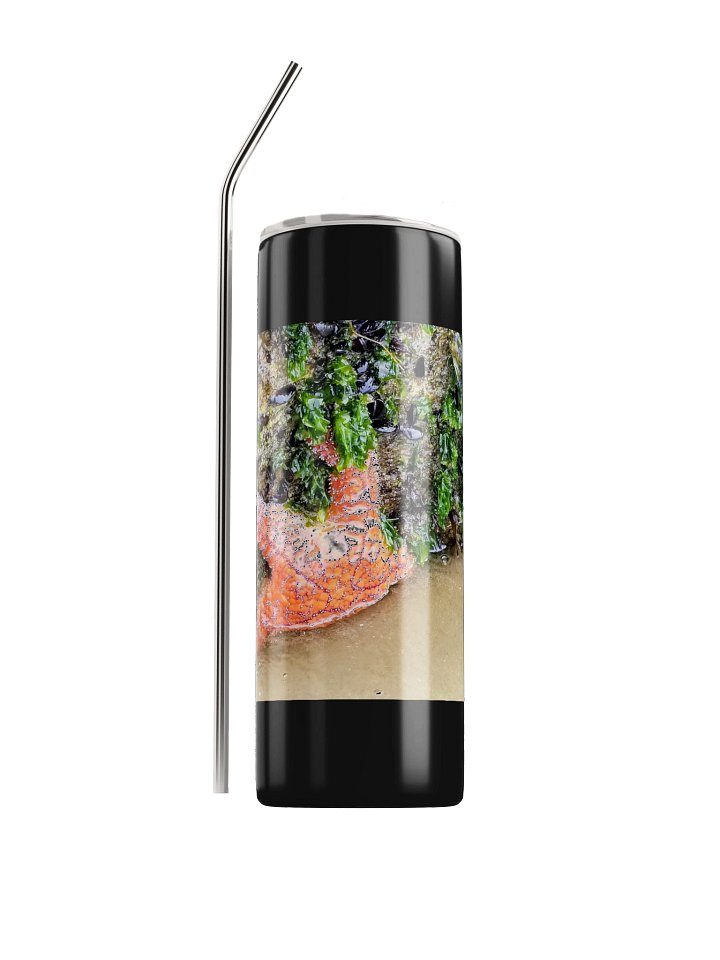
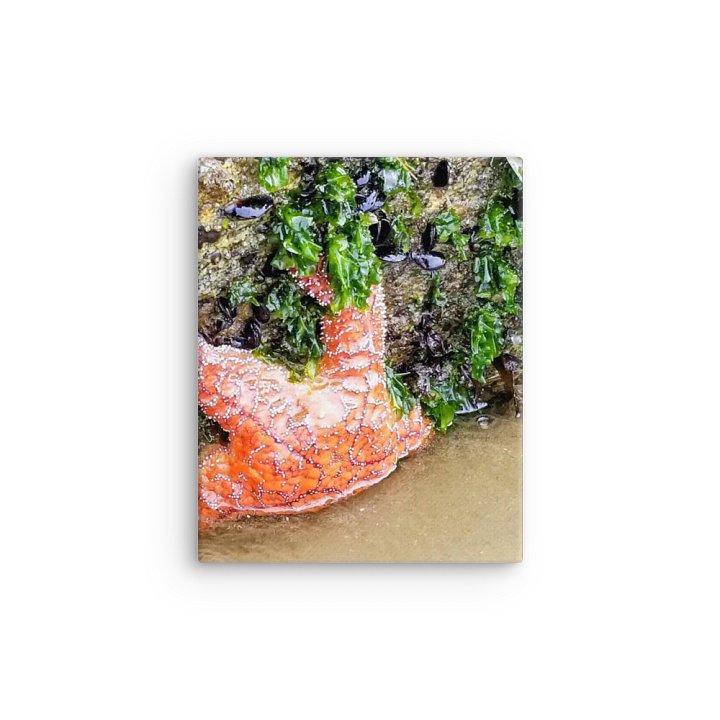
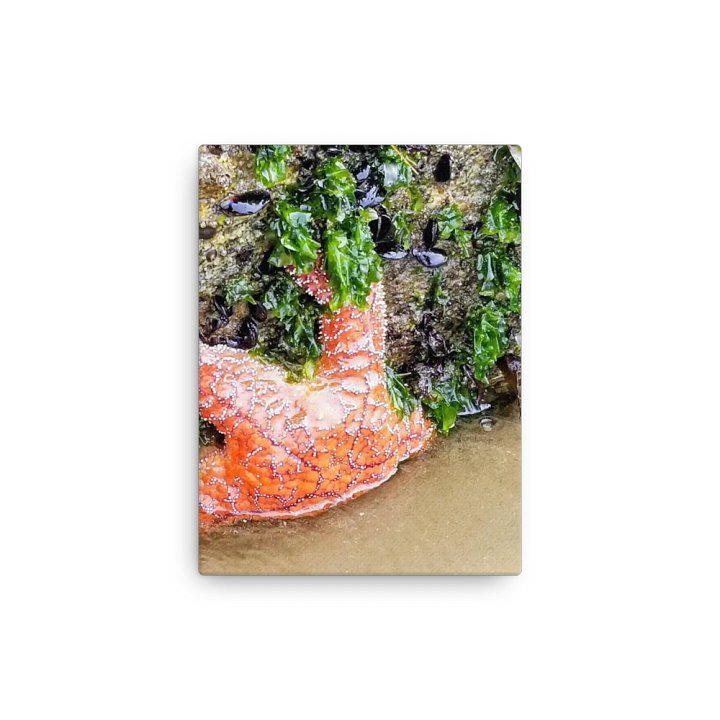
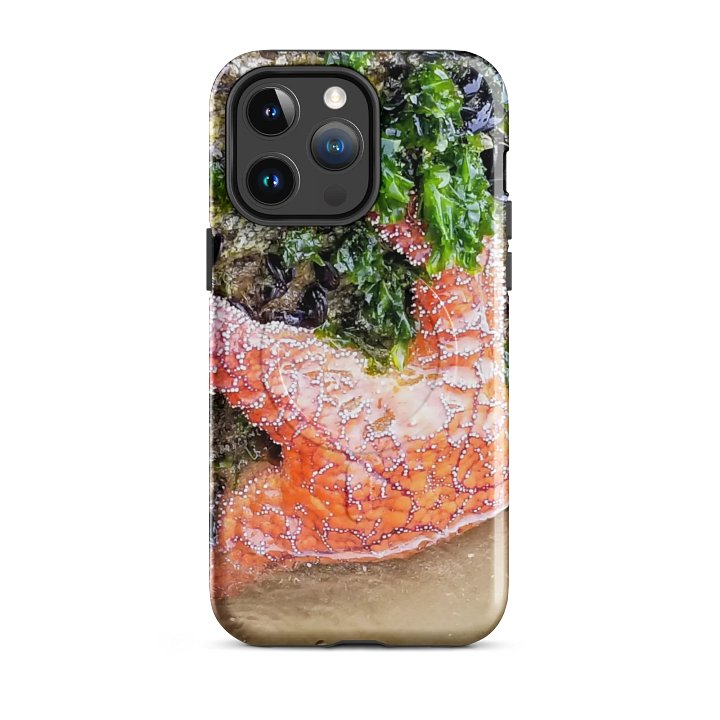
Starfish Serenity
Starfish Serenity Stainless Steel Tumbler
$41.91
Starfish Serenity Hardcover Notebook
$31.43
Starfish Serenity Thin Canvas
$32.74
Starfish Serenity Tough iPhone® Case
$31.43
Starfish Serenity Samsung® Case
$27.50
Starfish Serenity MagSafe® Tough Case
$34.05
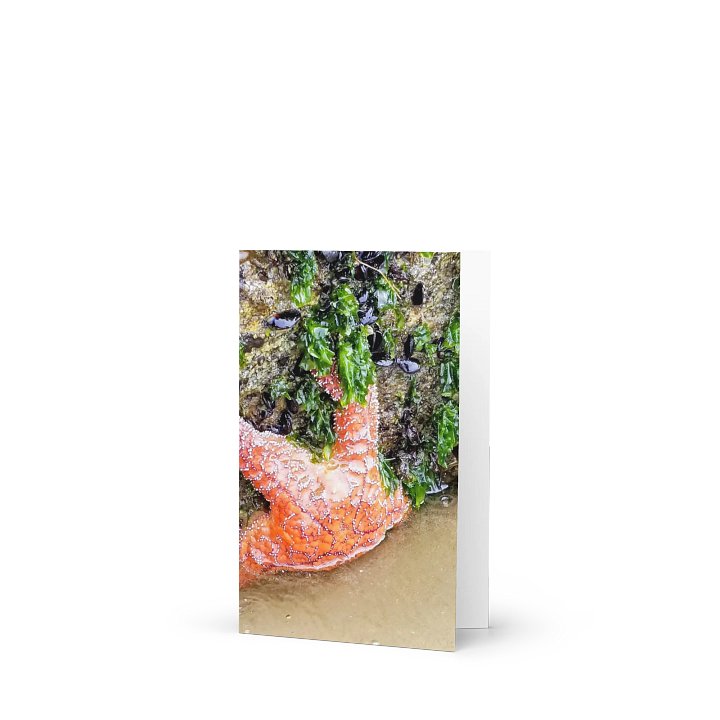
Starfish Serenity Greeting Card
$7.86
Starfish Serenity Scrunchie
$17.02
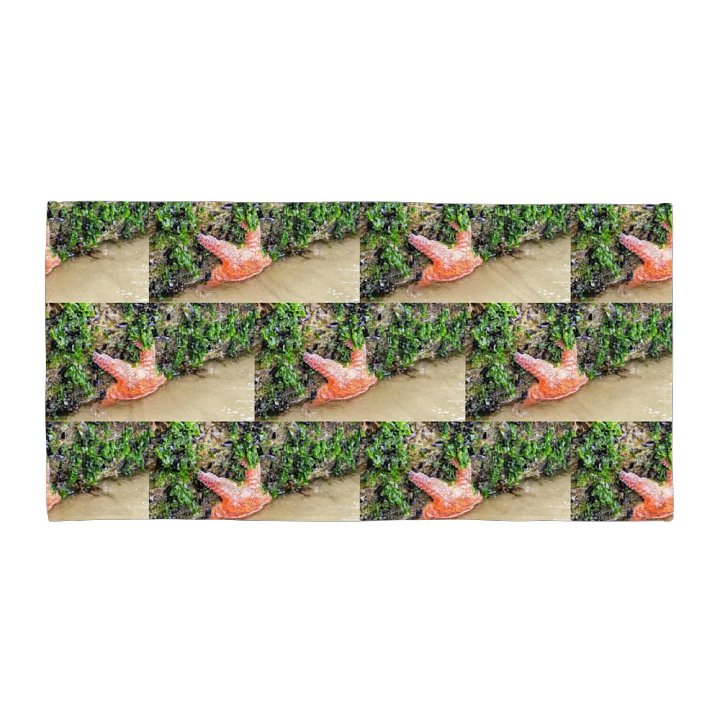
Starfish Serenity Beach Towel
$47.14
View as:
Admin
Supporter
Edit collection
Go to dashboard
View as
Admin
Supporter
Go to dashboard